7 Tips for Setting Laser Cutting Parameters for Steel

Time:2026-09-28 Author:Isabella
0%

Steel may look like a straightforward material to cut, but small setting changes can leave rough edges, excess slag, or heat discoloration. A clean result depends on more than laser power. Sheet thickness, steel grade, focus position, cutting speed, assist gas, and nozzle condition all affect the cut. Even a well-prepared machine can behave differently when a new sheet or nozzle is introduced.

This guide explores how to set up parameter settings for laser cutting steel through seven practical tips. It explains how to use the machine manufacturer’s recommended ranges, then refine them with controlled test cuts. For example, a short cut on scrap sheet can reveal dross on the underside or a narrow, incomplete kerf. Check the edge, not just the top surface. Small changes matter. Adjust one setting at a time, record the result, and keep the material and thickness consistent during testing. That sounds careful, perhaps even slow, but changing power and speed together makes cause and effect harder to judge. I would not assume a setting that worked yesterday will work on every steel batch. Gas pressure, surface condition, and machine maintenance can shift results. The guidance ahead is a starting point, not a substitute for your equipment manual or safe operating procedures. Use it to make adjustments methodically, recognize common signs of poor cutting, and build a reliable process for the steel you actually use.
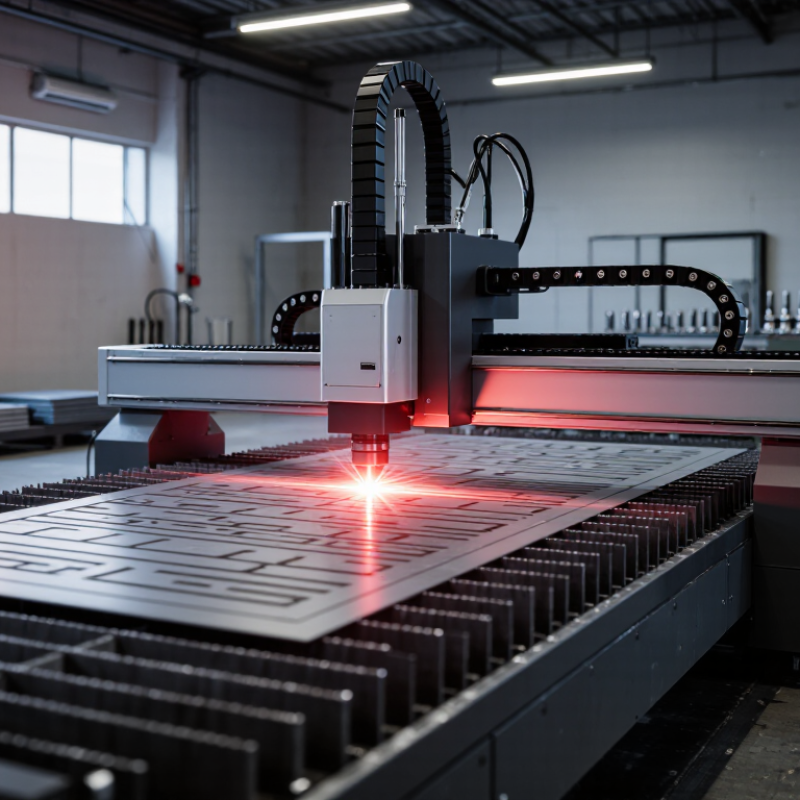
7 Tips for Setting Laser Cutting Parameters for Steel

Identify Steel Grade and Thickness Before Parameter Setup (0.5–25 mm)

Before setting laser parameters, confirm the steel grade and measure thickness at several points. A 0.5 mm sheet can warp from excess heat, while 25 mm plate needs enough energy and gas pressure for a clean pierce. Thickness is not a setting.

World Steel Association’s World Steel in Figures 2024 reports 1,892.2 million tonnes of crude steel production in 2023. That scale reflects a wide range of steel compositions, so “steel” alone is not a useful setup specification. Check the mill certificate for grade, carbon content, and any coating. ISO 9013:2017 provides quality classifications for thermal cuts, including tolerances and cut-surface characteristics; use it to define inspection targets, not as a recipe for machine settings. Small details matter.

Match the material data to the machine’s cutting chart, assist gas, nozzle, and focus position. Mild steel and higher-alloy grades may respond differently, even at equal thickness. Start with the recommended range, then inspect a test cut for dross, kerf taper, and edge discoloration. A small confession: operators sometimes trust nominal thickness too much. Real sheets vary, so measure the stock and record the results before production.

Match Fiber-Laser Power and Cutting Speed to Thickness (1–20 kW Systems)

For steel, match power and speed to thickness as a pair, not as separate settings. A 1 kW fiber system can cut thin sheet effectively, while 10–20 kW systems may process thicker plate or move faster when the machine, nozzle, and assist gas support it. More power does not automatically mean a cleaner edge. Excessive speed can leave an incomplete cut; too little speed can widen the kerf and add heat marks. Check the kerf first.

Use the cutting chart for the exact steel grade and thickness as your starting point. Then test a short line on a same-thickness offcut. Look for a continuous cut, modest dross, and a square edge; inspect the underside, too. If the cut fails to separate, adjust speed and focus in small steps before changing several settings at once. Keep gas pressure, nozzle condition, and sheet flatness consistent. I still treat the first cut as a question, not proof. Small changes matter. Record the settings that work, but recheck them when material or thickness changes.

Select Assist Gas: Oxygen for Mild Steel; Nitrogen Often at 10–20 bar

Assist gas changes both cutting speed and edge quality. For mild steel, oxygen is commonly used because it reacts with the hot metal and helps sustain the cut. This can allow efficient cutting, especially on thicker plate. The trade-off is an oxidized edge, which may need cleaning before welding or coating. Watch the kerf closely: heavy dross underneath often signals that speed, focus, or gas flow needs adjustment.

Nitrogen is often supplied at 10–20 bar for steel cutting, depending on the machine, material thickness, and nozzle setup. It helps drive molten metal out of the kerf without adding oxygen to the cut edge. The result can be a cleaner, less oxidized surface. Higher pressure also means greater gas consumption, so check that the supply can maintain steady pressure during a long cut. A gauge reading alone is not enough if pressure drops under load.

Run a short test on the same grade and thickness before production. Look for smooth edges, minimal burrs, and a consistent spark pattern. Keep the nozzle clean. These clues help, but they are not a substitute for the machine maker’s parameter chart. It is easy to blame the gas when a worn nozzle is the real problem.

Set Focus and Nozzle Gap, Then Verify with Test Cuts

Set the focus position and nozzle gap before changing power or speed. Use the machine’s recommended starting values for the steel grade and thickness, then confirm that the nozzle is centered and clean. A small focus error can widen the kerf or leave rough edges. Keep the standoff consistent across the sheet. Check the setup twice.

Make a short test cut in scrap with the same thickness and surface condition as the job. Watch for a steady spark stream and listen for changes in cutting sound, while keeping clear of the cutting area. After the sample cools, inspect both sides. Heavy bottom dross may point to a focus, gap, or speed issue; it is not proof of one cause.

Change one setting at a time, then repeat the cut. Record the focus position, nozzle gap, and result beside the material details. It is tempting to adjust several values at once when the edge looks poor, but that makes the next result harder to interpret. A clean top edge can still hide incomplete cutting underneath. If the test remains inconsistent, recheck nozzle condition and alignment before pushing the parameters further.

Inspect Dross, Kerf, and Heat-Affected Zone Before Production

7 Tips for Setting Laser Cutting Parameters for Steel
Inspect Dross, Kerf, and Heat-Affected Zone Before Production

Before releasing a steel cutting program, run a short test coupon at the intended thickness. Inspect the underside for attached dross, especially at corners and small holes. Heavy, stubborn beads may point to an unsuitable speed, focus position, or assist-gas setting. Record the result; a clean-looking edge alone is not enough.

Measure kerf at both the top and bottom of the cut. A noticeable difference can reveal taper, which may affect fit-up even when the part dimensions look correct. ISO 9013:2017 provides five quality ranges for thermal-cut perpendicularity tolerance and mean profile height, giving teams objective measures beyond visual judgment. For the heat-affected zone, inspect the cut edge under magnification; use hardness testing when the application requires it. Compare findings with your drawing and process requirements. One coupon is useful, but it cannot represent every sheet or batch. That limitation is easy to overlook. Change one parameter at a time, then repeat the inspection before production.

7 Tips for Setting Laser Cutting Parameters for Steel

Compare dross height, kerf width, and heat-affected-zone (HAZ) width across sample cuts before choosing production settings.

Illustrative coupon-test results for 6 mm mild steel; all measurements are in millimeters. Lower values indicate smaller dross, kerf, and HAZ, but production settings should be confirmed with your material, laser, optics, and assist gas.

FAQS

How should laser power and cutting speed be matched to steel thickness?

Treat power and speed as a pair. Start with the cutting chart for the exact steel grade and thickness, then test a short line.

What should a test cut look like?

Look for a continuous cut, modest dross, and a square edge. Check the underside, too. A clean top surface is not enough.

What can cause an incomplete cut?

Excessive speed may leave the cut unfinished. Adjust speed and focus in small steps before changing several settings at once.

What can happen when cutting speed is too low?

The kerf may widen, and heat marks may appear. Inspect the cut before production.

How can I check whether the kerf is even?

Measure it at the top and bottom. A noticeable difference may indicate taper and affect how parts fit together.

Where should dross be inspected?

Check the underside, especially around corners and small holes. Heavy, stubborn beads may point to unsuitable speed, focus, or assist-gas settings.

How should the heat-affected zone be assessed?

Inspect the cut edge under magnification. Use hardness testing when the application requires it. One coupon cannot represent every sheet or batch.

What settings should stay consistent during a test?

Keep gas pressure, nozzle condition, and sheet flatness consistent. Record settings that work, but recheck them when material or thickness changes. Small changes matter.

Conclusion

Setting reliable laser-cutting parameters for steel begins with identifying the steel grade and thickness, which may range from 0.5 to 25 mm. These details guide the choice of fiber-laser power and cutting speed. For systems rated from 1 to 20 kW, thicker material generally requires more power and a carefully adjusted speed, while thinner sheets need settings that limit excess heat. Choosing how to set up parameter settings for laser cutting steel also involves selecting an assist gas: oxygen is commonly used for mild steel, while nitrogen is often applied at pressures of 10–20 bar, depending on the material and desired edge quality.

After choosing initial settings, adjust the focal position and nozzle gap, then make test cuts before production. Inspect each sample for dross, kerf consistency, and the size of the heat-affected zone. Use these results to refine power, speed, gas pressure, focus, and nozzle spacing. A measured, test-based approach helps produce cleaner edges and more consistent cuts across different steel grades and thicknesses.

Isabella

Isabella

Isabella is a dedicated marketing professional with a sharp focus on driving brand growth and engagement through strategic content creation. With an extensive background in digital marketing, she combines her passion for storytelling with her keen understanding of industry trends to deliver......